By Elissa Rosenthal
Hello my butterflies! I'm sorry about the late upload. I usually schedule my posts to come up automatically in the morning on Saturday. This past week, however, I've been dealing with a cold. So, instead of writing my post last night and scheduling it to come up early today as I usually do, I ended up falling asleep. I am sorry.
Anyway, here is the post for the week! I've found this one artist who does YouTube videos and, though her work mostly goes around Photoshop, I have been finding some of her videos quite interesting and they have sparked more of a desire in me to draw. Though I will say, the particular video I was watching was a bit out of my current league. Her YouTube channel is called Istebrak, and I was watching her video on how to color skin.
Now, though I had seen a previous video of hers' where there was a warning about going to colors too quickly, I did it anyway. At least until I realized she was right. As you can see below I chose the colors I thought would work for my particular situation with using colored pencils. They are Shuttle Art brand colored pencils if you are wondering. They are from their 136 color set. These are cheaper colored pencils, so I don't particularly recommend them, though they are better than the kind you would use in Elementary School.
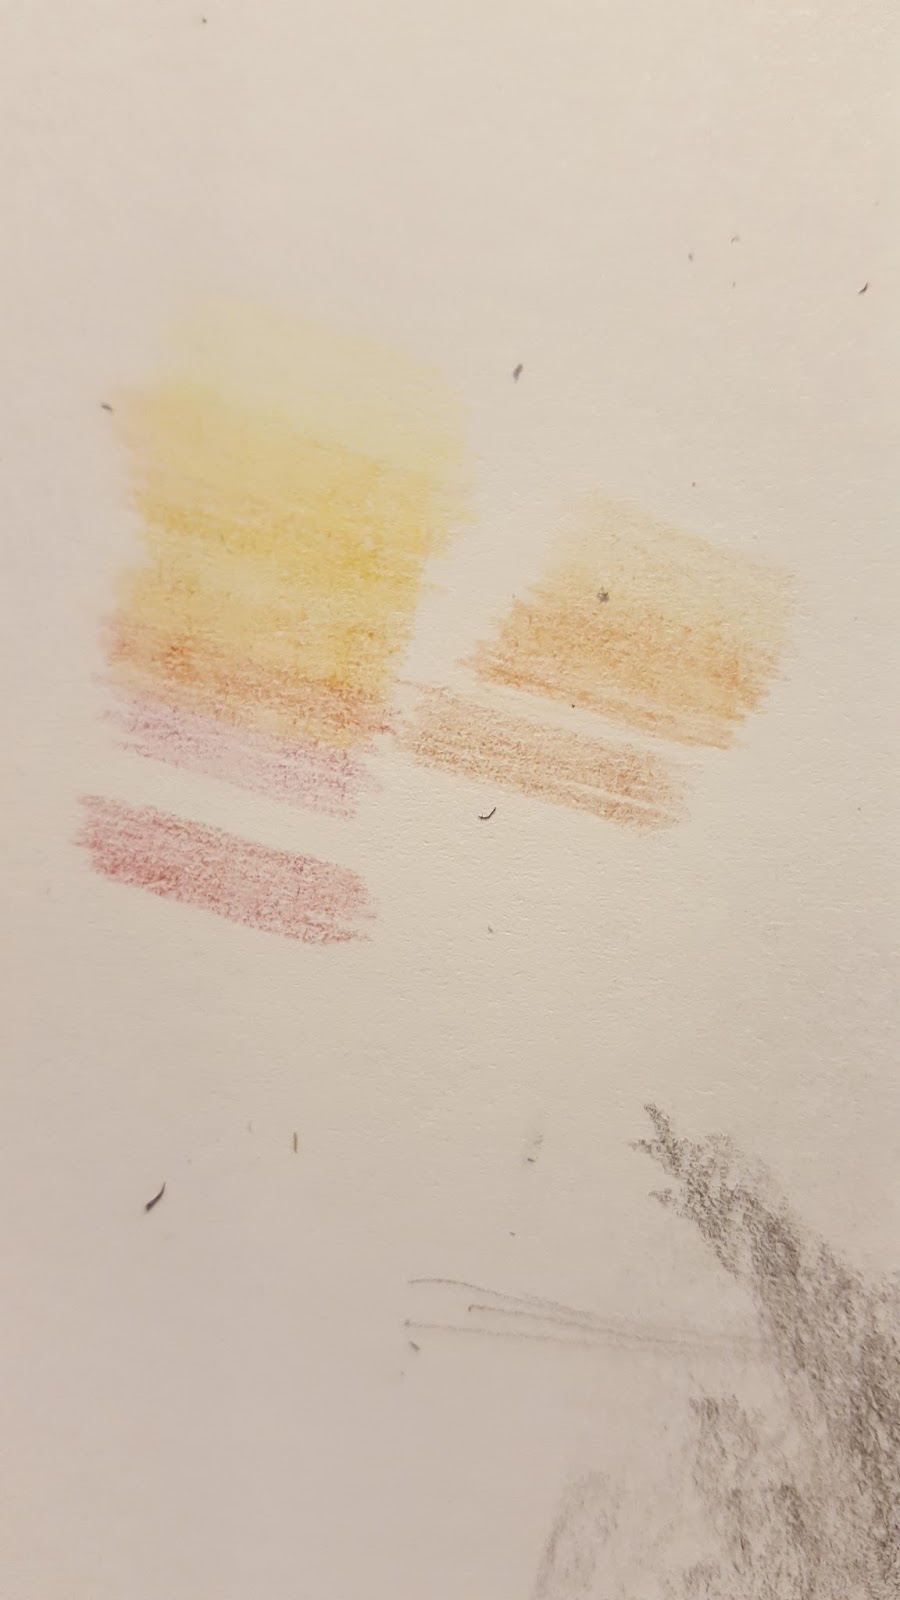
Istebrak was right. Since I had not practiced grayscale for a long time, I had a particularly hard time with colors and distinguishing their value. I tried to take some of the tips from her drawing in Photoshop and translate them into colored pencils. It particularly did not help that I was going off of no references. As you can see the nose has, as Istebrak refers to them, baby nostrils. If this nose was on an adult they would have some serious breathing problems. The second image is supposed to be the skin that would be around the eye, however, it looks a bit too almond shaped. Not to mention both have very yellow skin, to where it looks almost neon.

So, I went back to grayscale. I took out my favorite pencil, a Faber-Castell 6B, and started drawing a nose. I decided to take the time to go through some images of people's faces for this one though. I first blocked out the nose, finding where the curve where the tear ducts of the eyes would end, then from there finding the placement of the nostrils. What I found interesting, and what helped me to stay away from the problem of baby nostrils, is to divide the opening of the nose into three equal sections. Two for the nostrils, one for the septum. Plus, I tried my best to hold my pencil as far away from the tip as I could in order to start with large shaded areas, first making the whole area of the nose a mid-tone. I used another piece of computer paper to smudge the pencil, since smudging the medium with your figure puts your oils onto the paper, therefore making any mistakes harder to erase. I personally think this one is a lot better than I expected, particularly since this my first grayscale nose I've done in around a year or two. Though I will always want to be better and I am going to try my best to be better.

DO YOU LIKE WHAT I DO ON MY BLOG?
FOLLOW BY EMAIL BY PUTTING YOUR EMAIL INTO THE FOLLOW BY EMAIL PLUGIN.
FOLLOW ME ON TWITTER @TheElissaPost : HERE
LIKE MY FACEBOOK FAN PAGE : HERE
Thank you for reading my blog!
No comments:
Post a Comment